
Everything you need to know to get starting making your game with the XNA framework.

Getting a new game going with XNA starts with creating a new game project. This XNA tutorial walks you through setting up a new XNA Windows game project and seeing that first Cornflower Blue screen.

Before you can start displaying your graphics and images on the screen, you first need to add them to the game project and make them available through the Content Pipeline. This XNA tutorial walks you through the steps required to add an image or images to your game.
Creating a 2D sprite. Tutorial covers, creating a sprite, drawing it to the screen and introduces some object oriented programming.
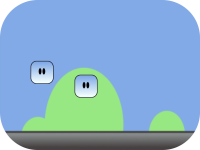
Tutorial covers loading background sprites and auto-scrolling them horizontally in a continuous loop.

This is part one of a four part series covering sprite movement. Part one covers gathering input from the player via the keyboard and using it to move a sprite around on the screen.
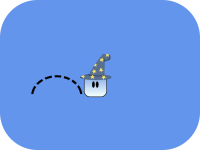
This is part two of a four part series covering sprite movement. Part two covers adding the code to the project to make the Wizard sprite jump around the screen.
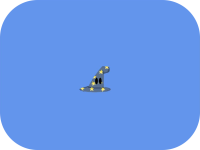
This is part three of a four part series covering sprite movement. Part three covers adding the code to the project to make the Wizard sprite duck. This code introduces the concepts of frames and using a spritesheet.
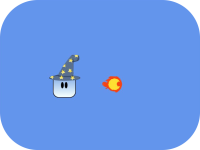
This is part four of a four part series covering sprite movement. Part four covers adding the code to the project to make the Wizard sprite shoot fireballs. This tutorial covers the basics of creating and maintaing projectiles.
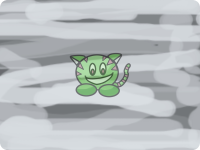
A tutorial developed to show how to achieve a fade in, fade out effect with a a 2D image. This tutorial walks you through creating a game project, adding an image to that project, displaying the image and adding the effect of fading the image in and out of the scene. Along with the tutorial and it's source code, there is an enhanced sample showing multiple images fading in and out of the scene Cheshire cat style which can be downloaded from within the tutorial.
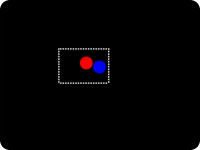
A tutorial developed to show how to create an RTS style selection box. This tutorial walks you through creating a game project, adding an image to that project, displaying the image, making the mouse pointer visible and using the mouse to create a selection box. Along with the tutorial and it's source code, there is an enhanced sample showing how you can use the selection box to select some simple "units" and move them around the game window. This "One Step Further" tutorial can be downloaded from within the "You have been Selected!" tutorial.
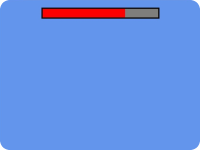
A tutorial developed to show the basics of how to create a Health bar. This tutorail will walk you through creating a game project, adding an image to that project, tracking the current health level and displaying that appropriately with a health bar.

This is the images and source code for the article I wrote for the Sept/Oct 2007 issue of CoDe magazine. If you're following the code along in the book, the images and source code provided here should help you finish the project out.
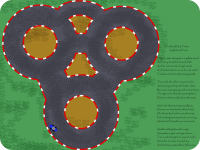
This tutorial walks through step by step using a color key to do path collision. The example used is for a super sprint style track, but the code could be used for a variety of projects. By the end of the tutorial, the reader should be familiar with moving and rotating a sprite, using GetData() to get pixel information and have an introductory understanding of RenderTarget2D objects and how they can be used.
This tutorial walks you through three different solutions for managing screen state in your game. From the basic of the basic to a final intermediate level sample. You're sure to pick up other neat litlee XNA game development tips along the way as well. This tutorial is a doozy!